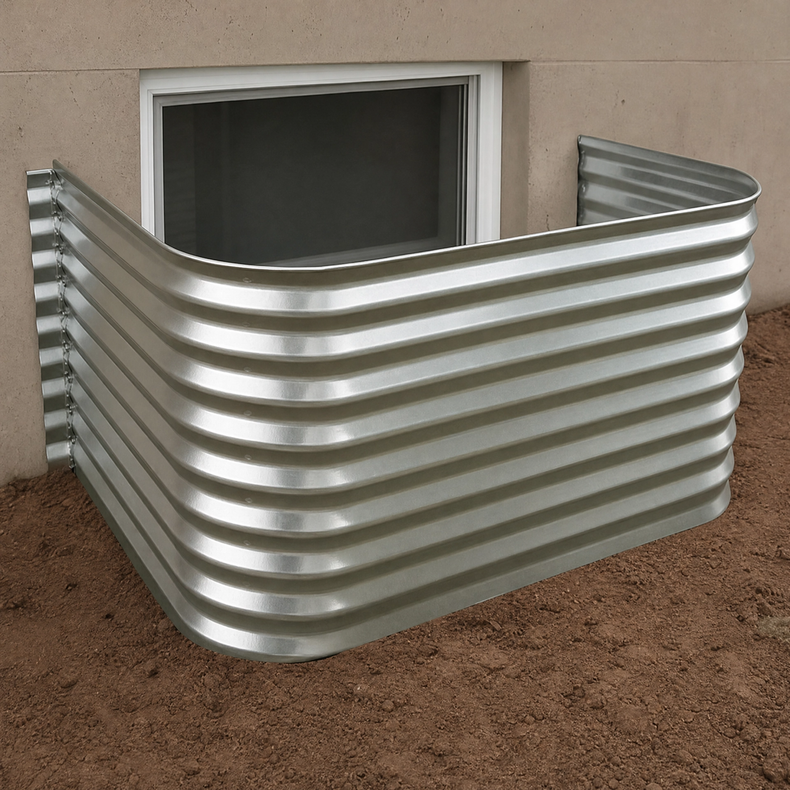
Replacing a rusted-out window well or adding one to a new opening is a realistic weekend job for a competent DIYer. It is mostly digging. The parts that matter are the gravel bed and the backfill — get those wrong and the well either holds water or bows inward.
Before you dig: call for locates
Utility locates are free and legally expected in Alberta. Request them through Utility Safety Partners (formerly Alberta One-Call) and wait for the marks before a shovel goes in the ground. Gas and telecom lines run shallow along foundation walls more often than people expect.
What you will need
- Shovel, and a mattock if the ground is dry Calgary clay
- Hammer drill with a masonry bit
- Concrete sleeve anchors or masonry screws with washers
- Clean 3/4″ drainage gravel — roughly 3 to 5 cubic feet for a typical well
- Landscape filter fabric
- Level, tape, safety glasses and gloves — cut steel edges are sharp
1. Remove the old well
Dig out the backfill along both sides first so the well is not fighting soil pressure, then unfasten it from the wall. A badly rusted well will often tear rather than lift — wear gloves.
2. Excavate
Dig the hole a few inches wider and deeper than the well on all sides so you have room to work and room for gravel underneath. Keep the excavation tight to the foundation — the well should sit flush against the wall, not float away from it.
3. Build the drainage bed
This is the step people skip and regret. Lay filter fabric, then 8 to 12 inches of clean 3/4″ gravel in the bottom of the excavation. The gravel should sit below the level of the window sill so water has somewhere to go before it reaches the window. If your home has weeping tile at the footing, the gravel bed wants to drain toward it.
4. Set the well and fasten it
Drop the well in and check that the top rim sits at or slightly above finished grade, and that the bottom is well below the window sill. Level it side to side. Then drill through the 2″ side flanges into the foundation and fasten — typically three to five anchors per side, evenly spaced, with washers so the fastener does not pull through the steel.
Do not over-tighten. You are holding the well against the wall, not clamping it.
5. Backfill in layers
Backfill in 6″ lifts, tamping lightly as you go, working evenly around the outside. Dumping the whole pile in at once is how wells end up bowed. Finish with soil sloped away from the house — a drop of about an inch per foot for the first six feet does more for a dry basement than any product you can buy.
6. Add a cover
A cover keeps rain, snow, leaves and the neighbourhood cat out of the well. If the window is a bedroom egress window, the cover must lift off from inside the well without tools — see our Alberta egress guide.
When to call someone
If the foundation is cracked where the old well was fastened, if the excavation would undermine a walkway or deck footing, or if you hit water partway down, stop and get a contractor in. Everything else is honest labour.
Need a well cut to a size that is not on the shelf? Email info@windowwellsandcover.ca or call (403) 972-0988.